Archive | Renovation RSS feed for this section

The Master Plan: Renovating Your Master Bedroom

21 Oct

PoppaNut happens to be extremely handy, and he’s usually pretty game for a renovation project. I’m also lucky enough to have two amazing contractors in my life that also happen to be family — my dad and my father-in-law, so it can quickly turn into a family affair when the hammers start swinging in this crazy nuthouse.

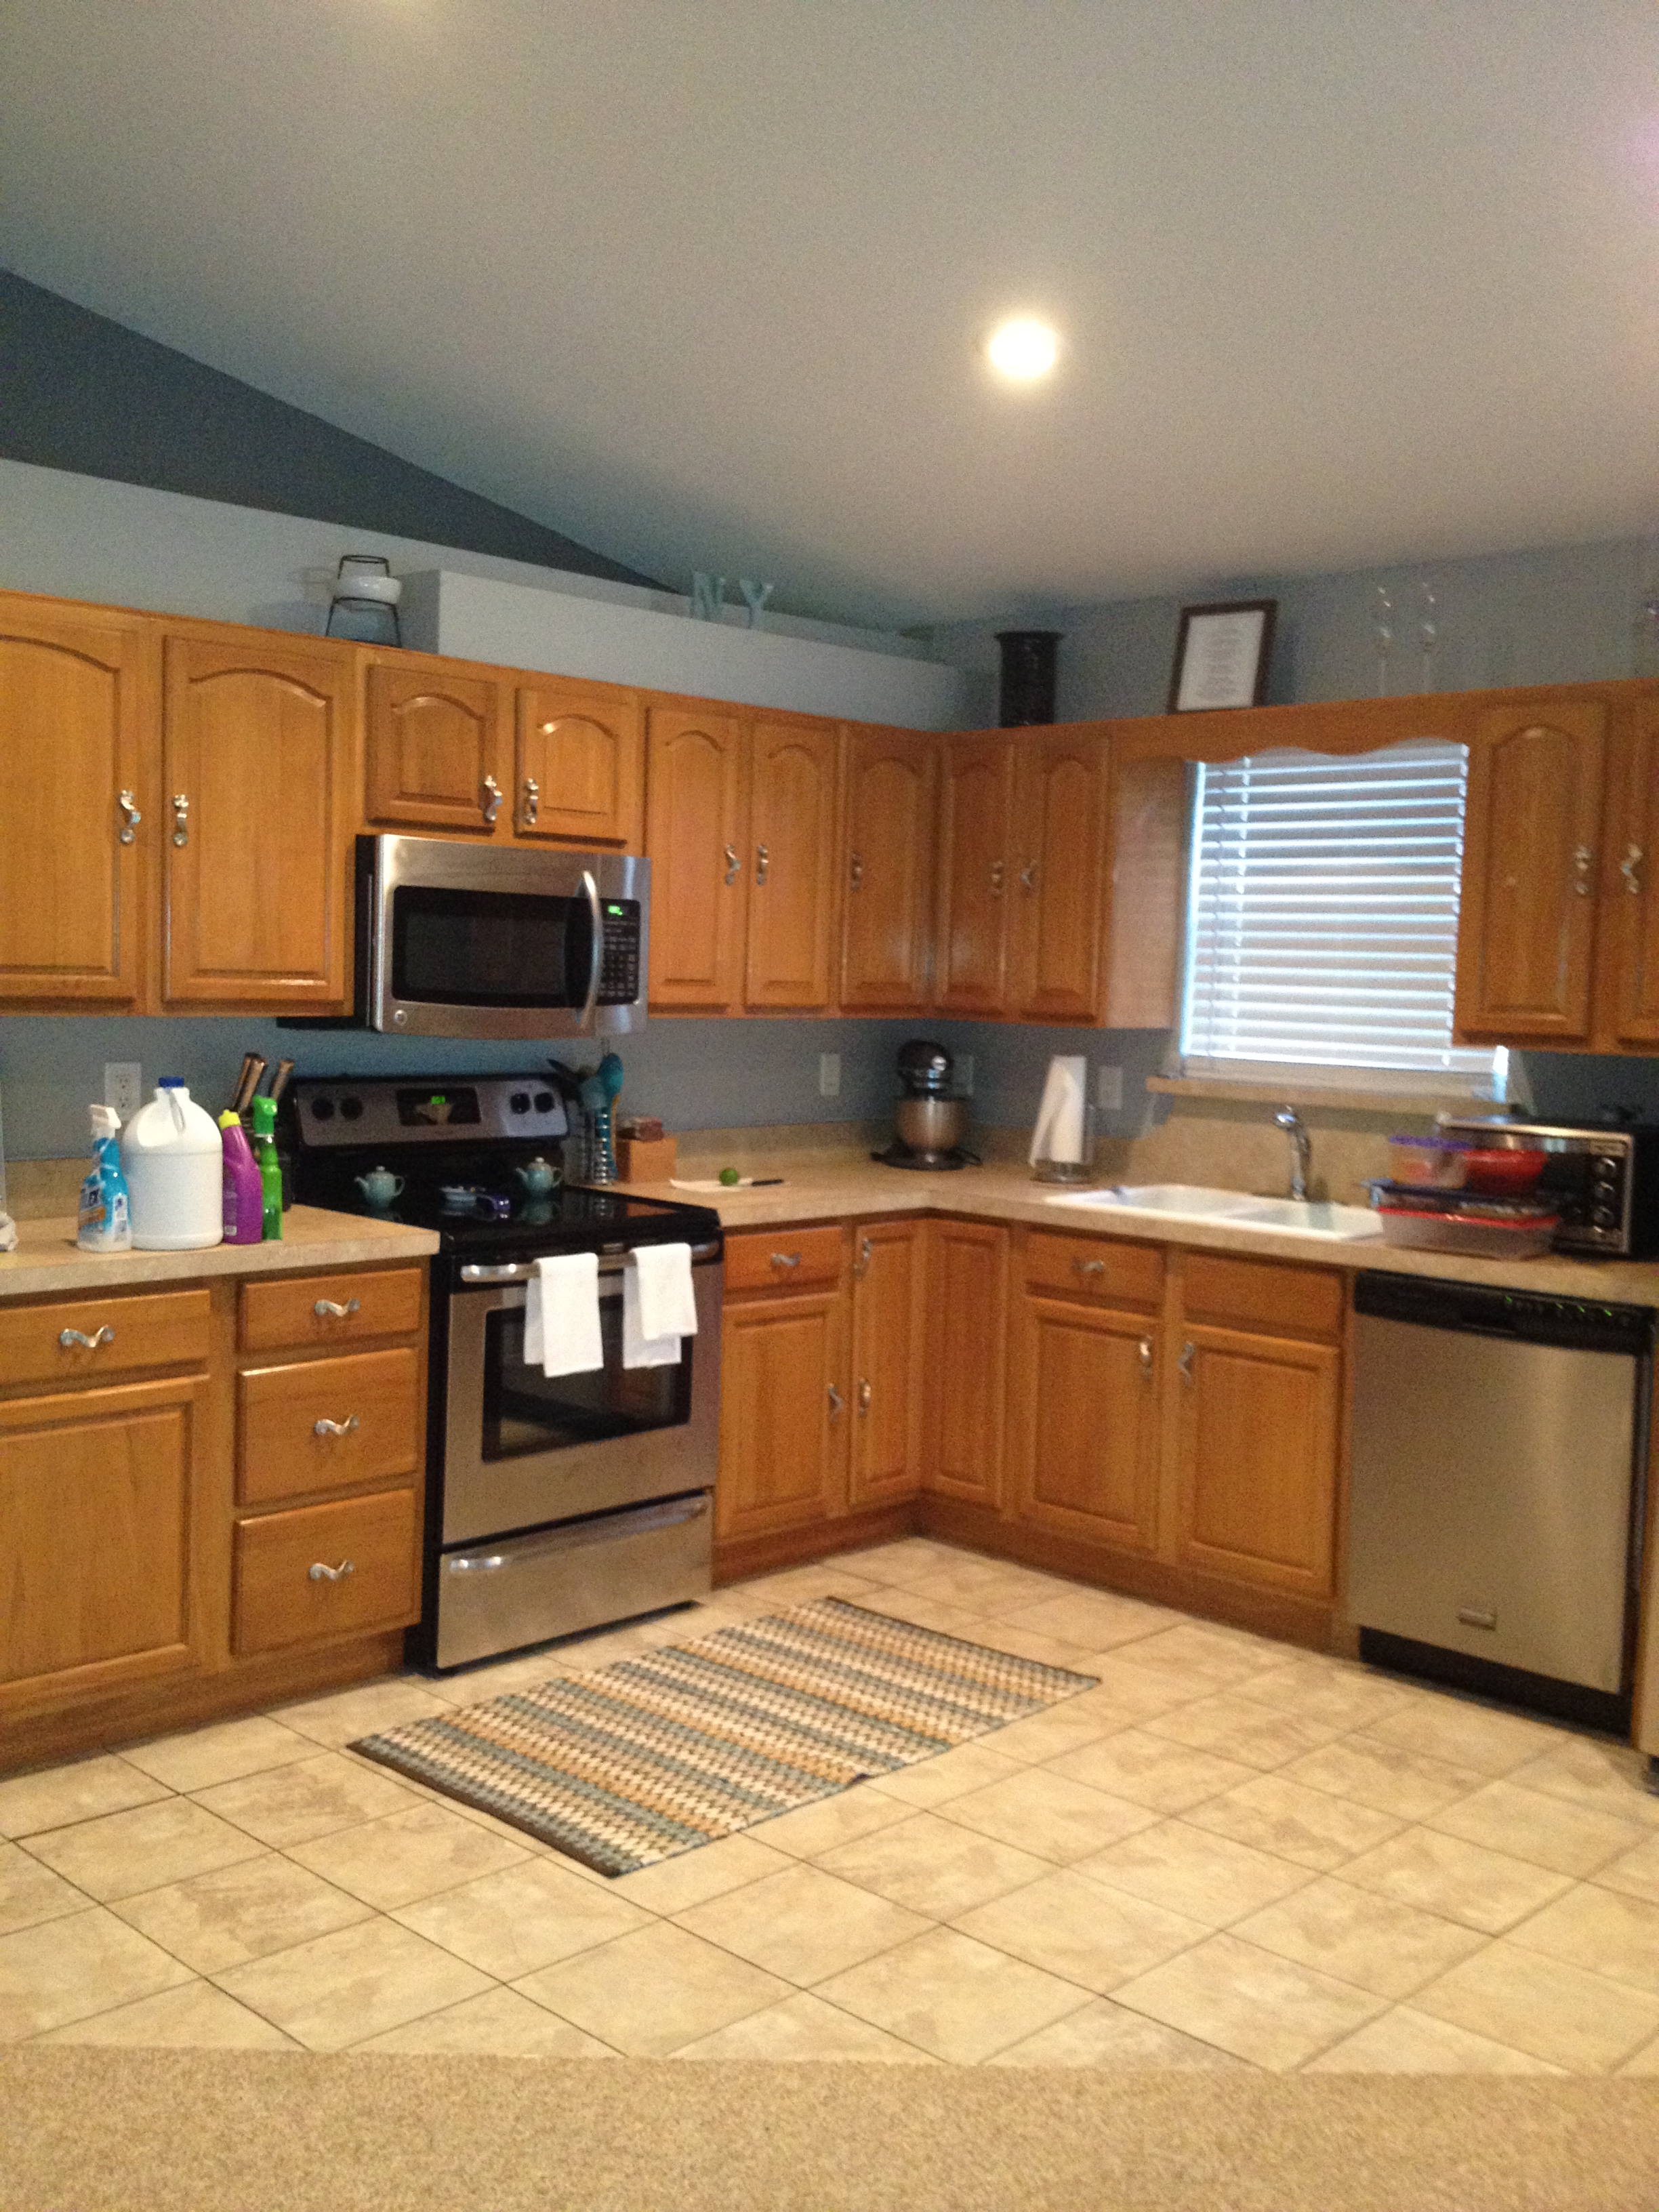
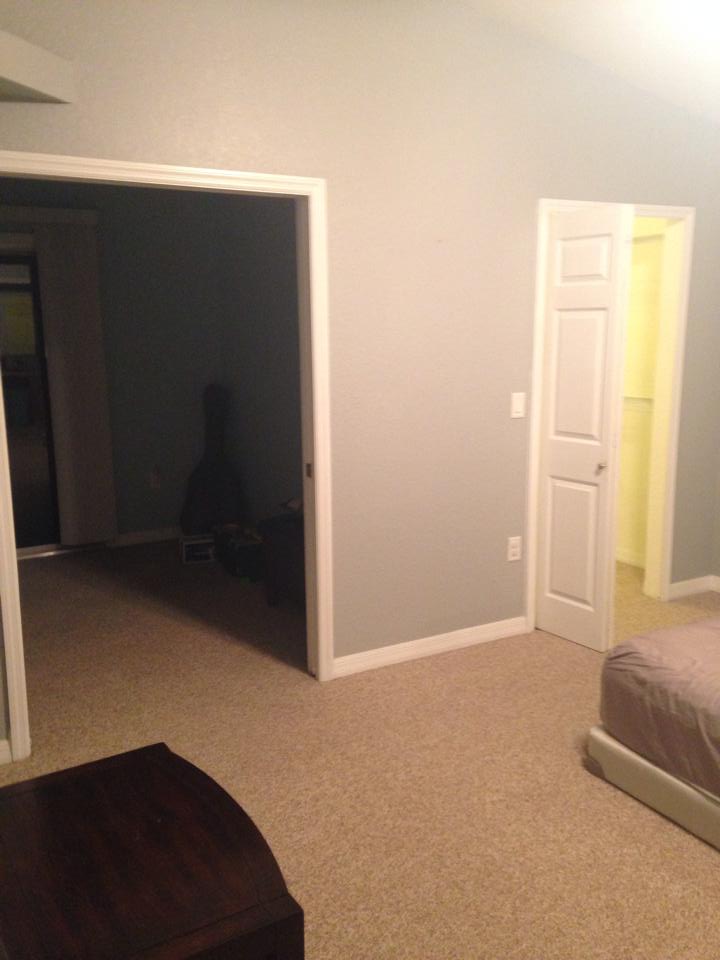
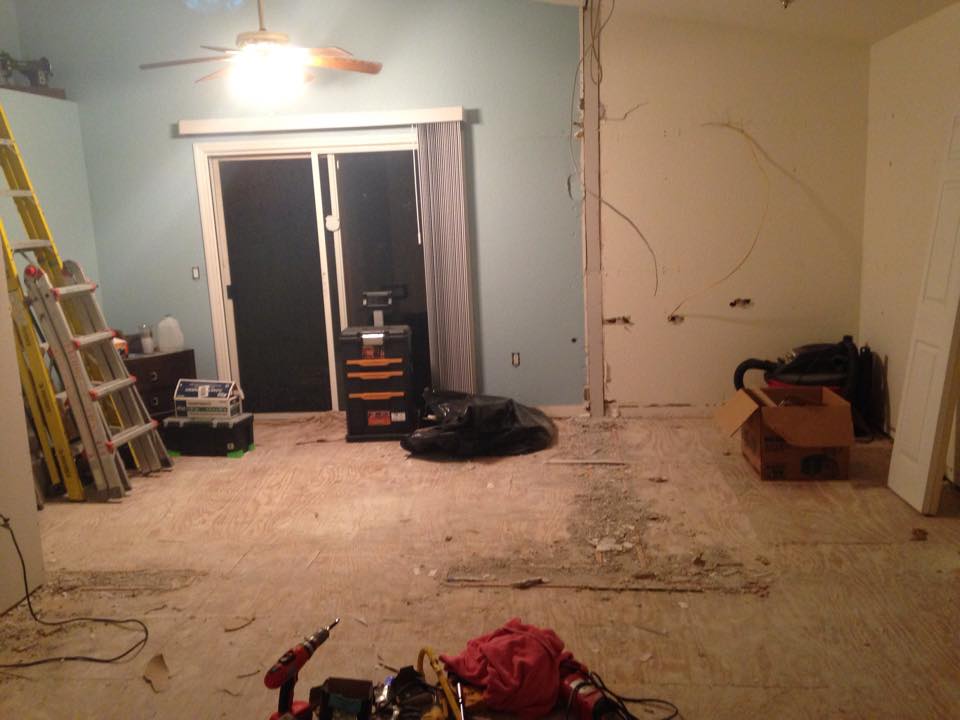
Prior to the renovation, our tiny master bedroom featured pocket doors to a shared office space. And the closet was a pain point each time I put away laundry because closet racks were actually linen-closet shelves, which means you could not slide the hangers whatsoever. Total frustration! The room was always just fine for what we needed, but we dreamt of something amazing.

Original Bedroom/Office

Original Bedroom/Office


Enter PoppaNut. Determined to turn our Ok bedroom into a showstopper, the renovation began! First, we emptied the room and all the contents of our closet (where am I going to put all these shoes??).

I Will Not Get Rid of Shoes!

I Will Not Get Rid of Shoes!

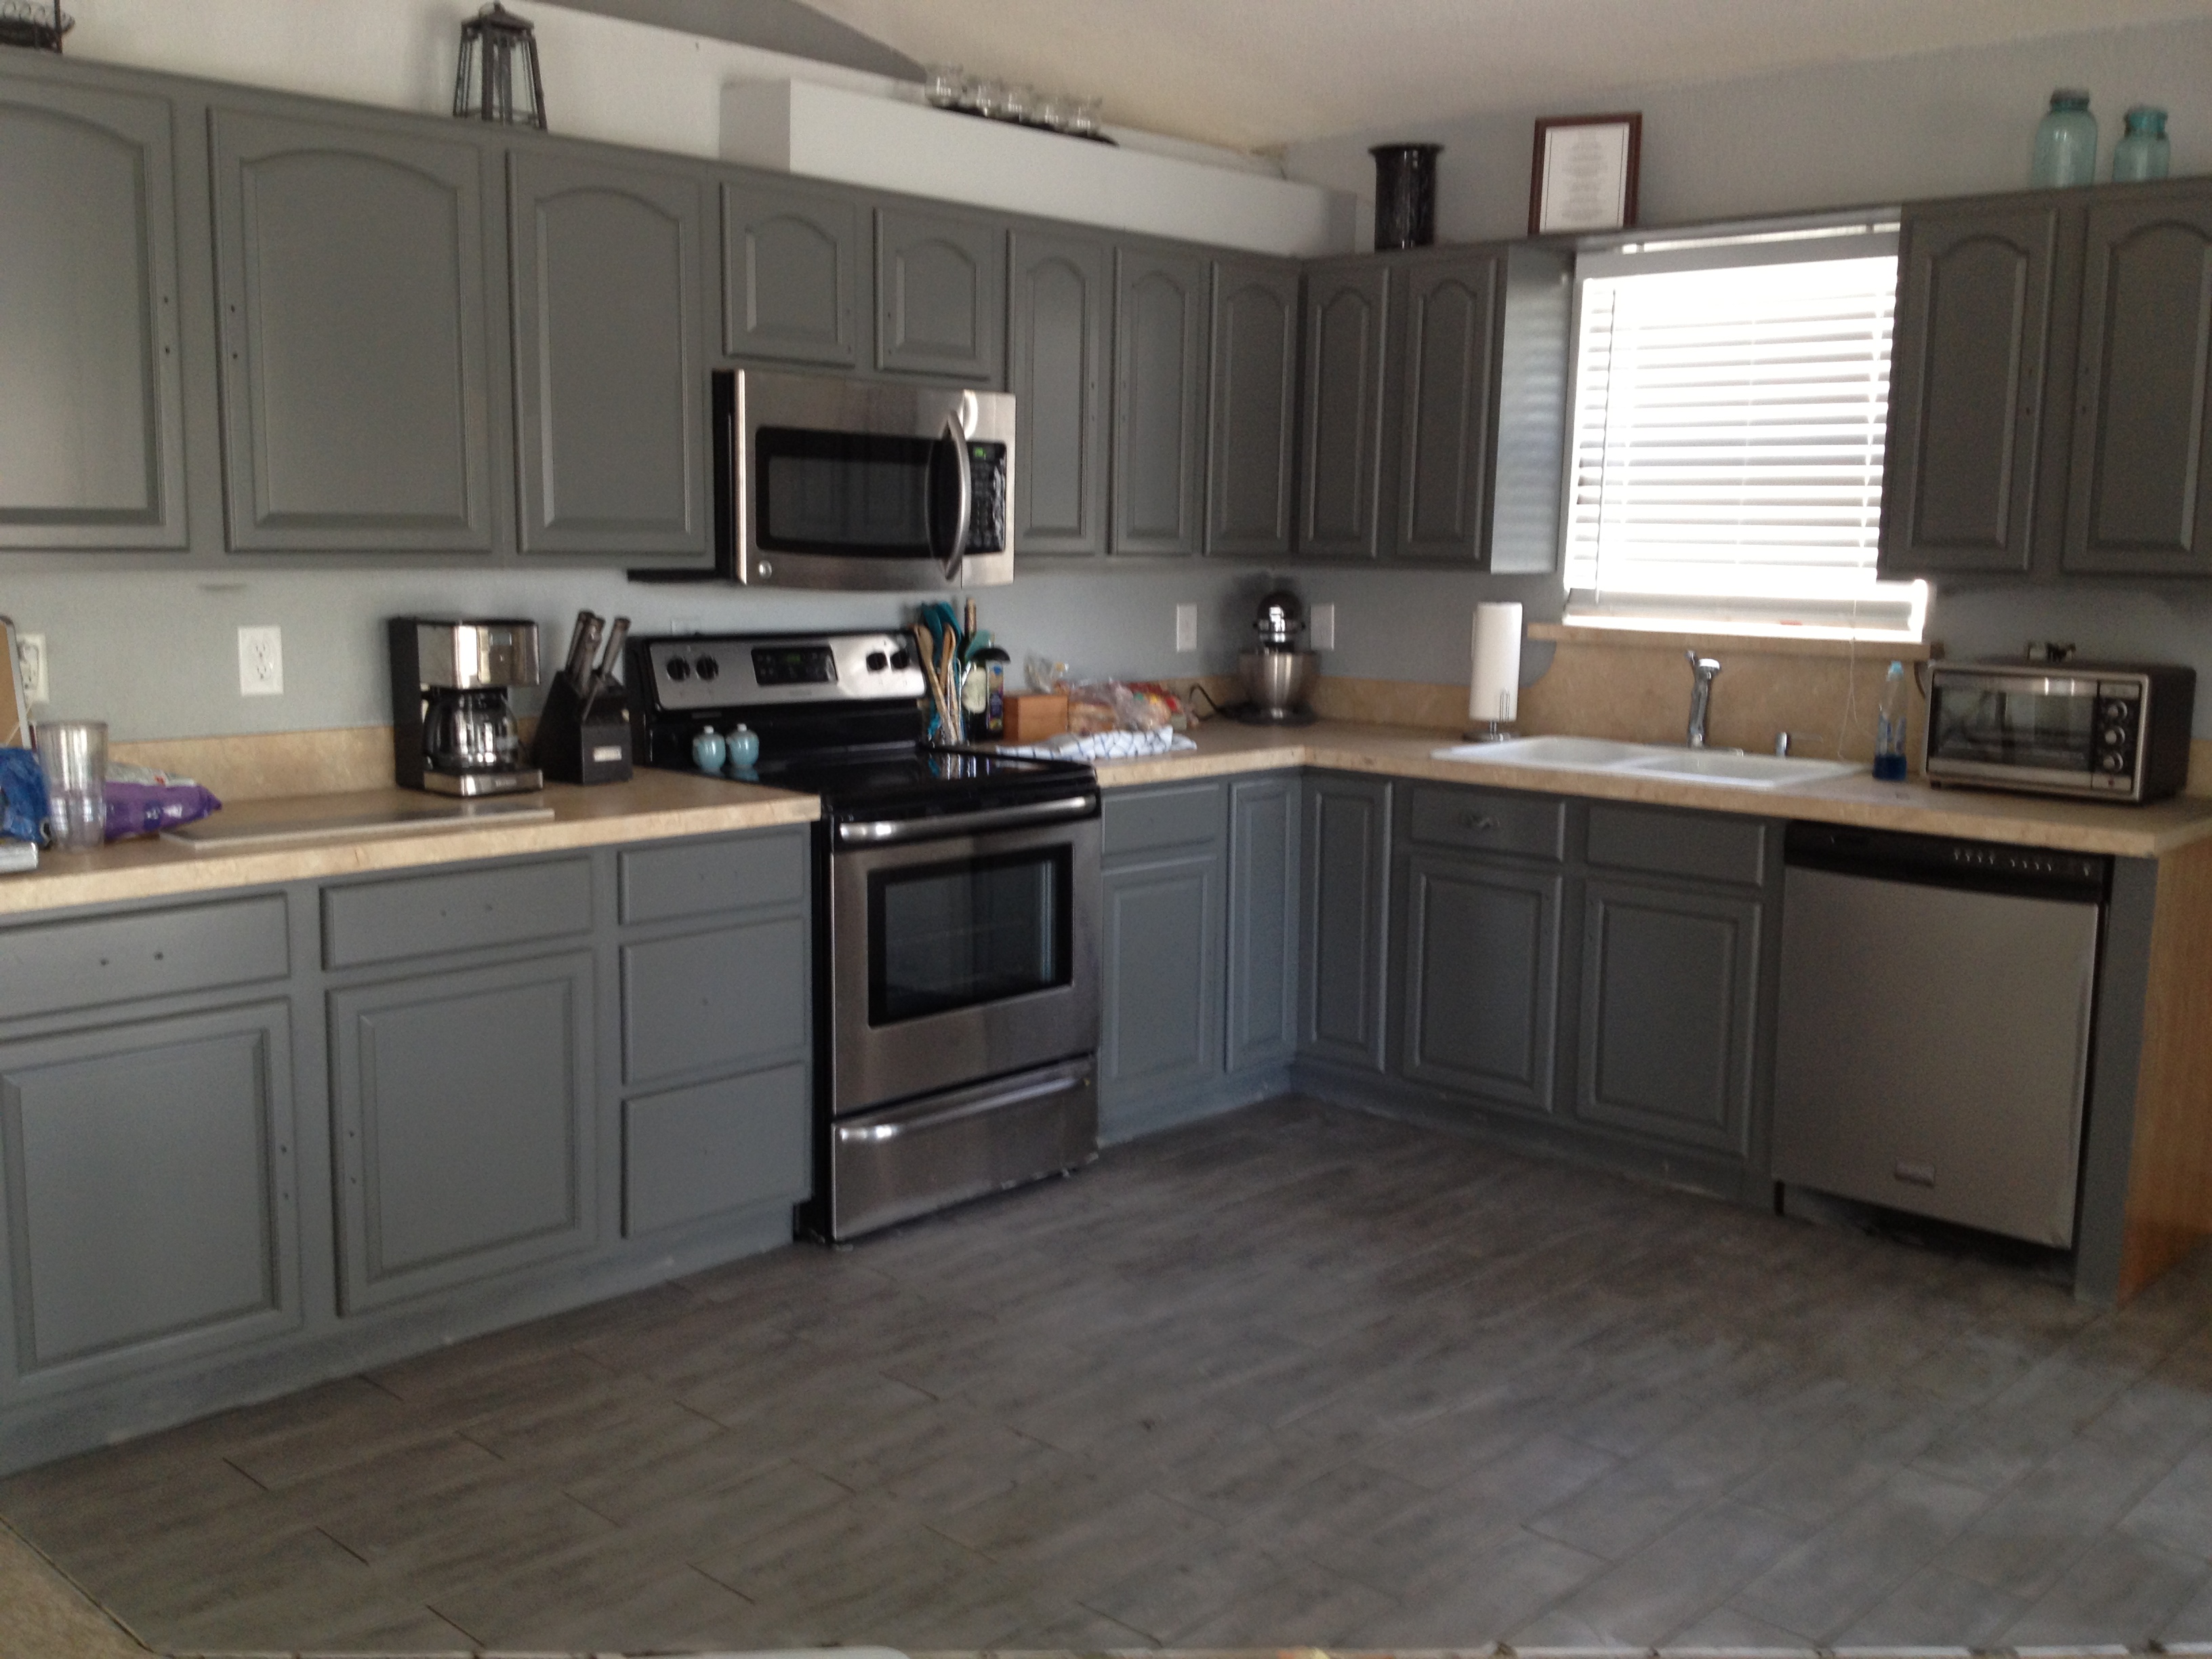
Then, the wall between the master bedroom and the office came down. We moved our mattresses to a spare room, and hunkered down for nearly a month while saw dust and drywall took residence in our soon-to-be master suite!

10384063_10205364823424019_2163936443293275990_n

10461308_10205428463734987_273009748233909107_n

10670122_10205428463494981_3753463178295980069_n

10660335_10205364824624049_2918227455721396017_n

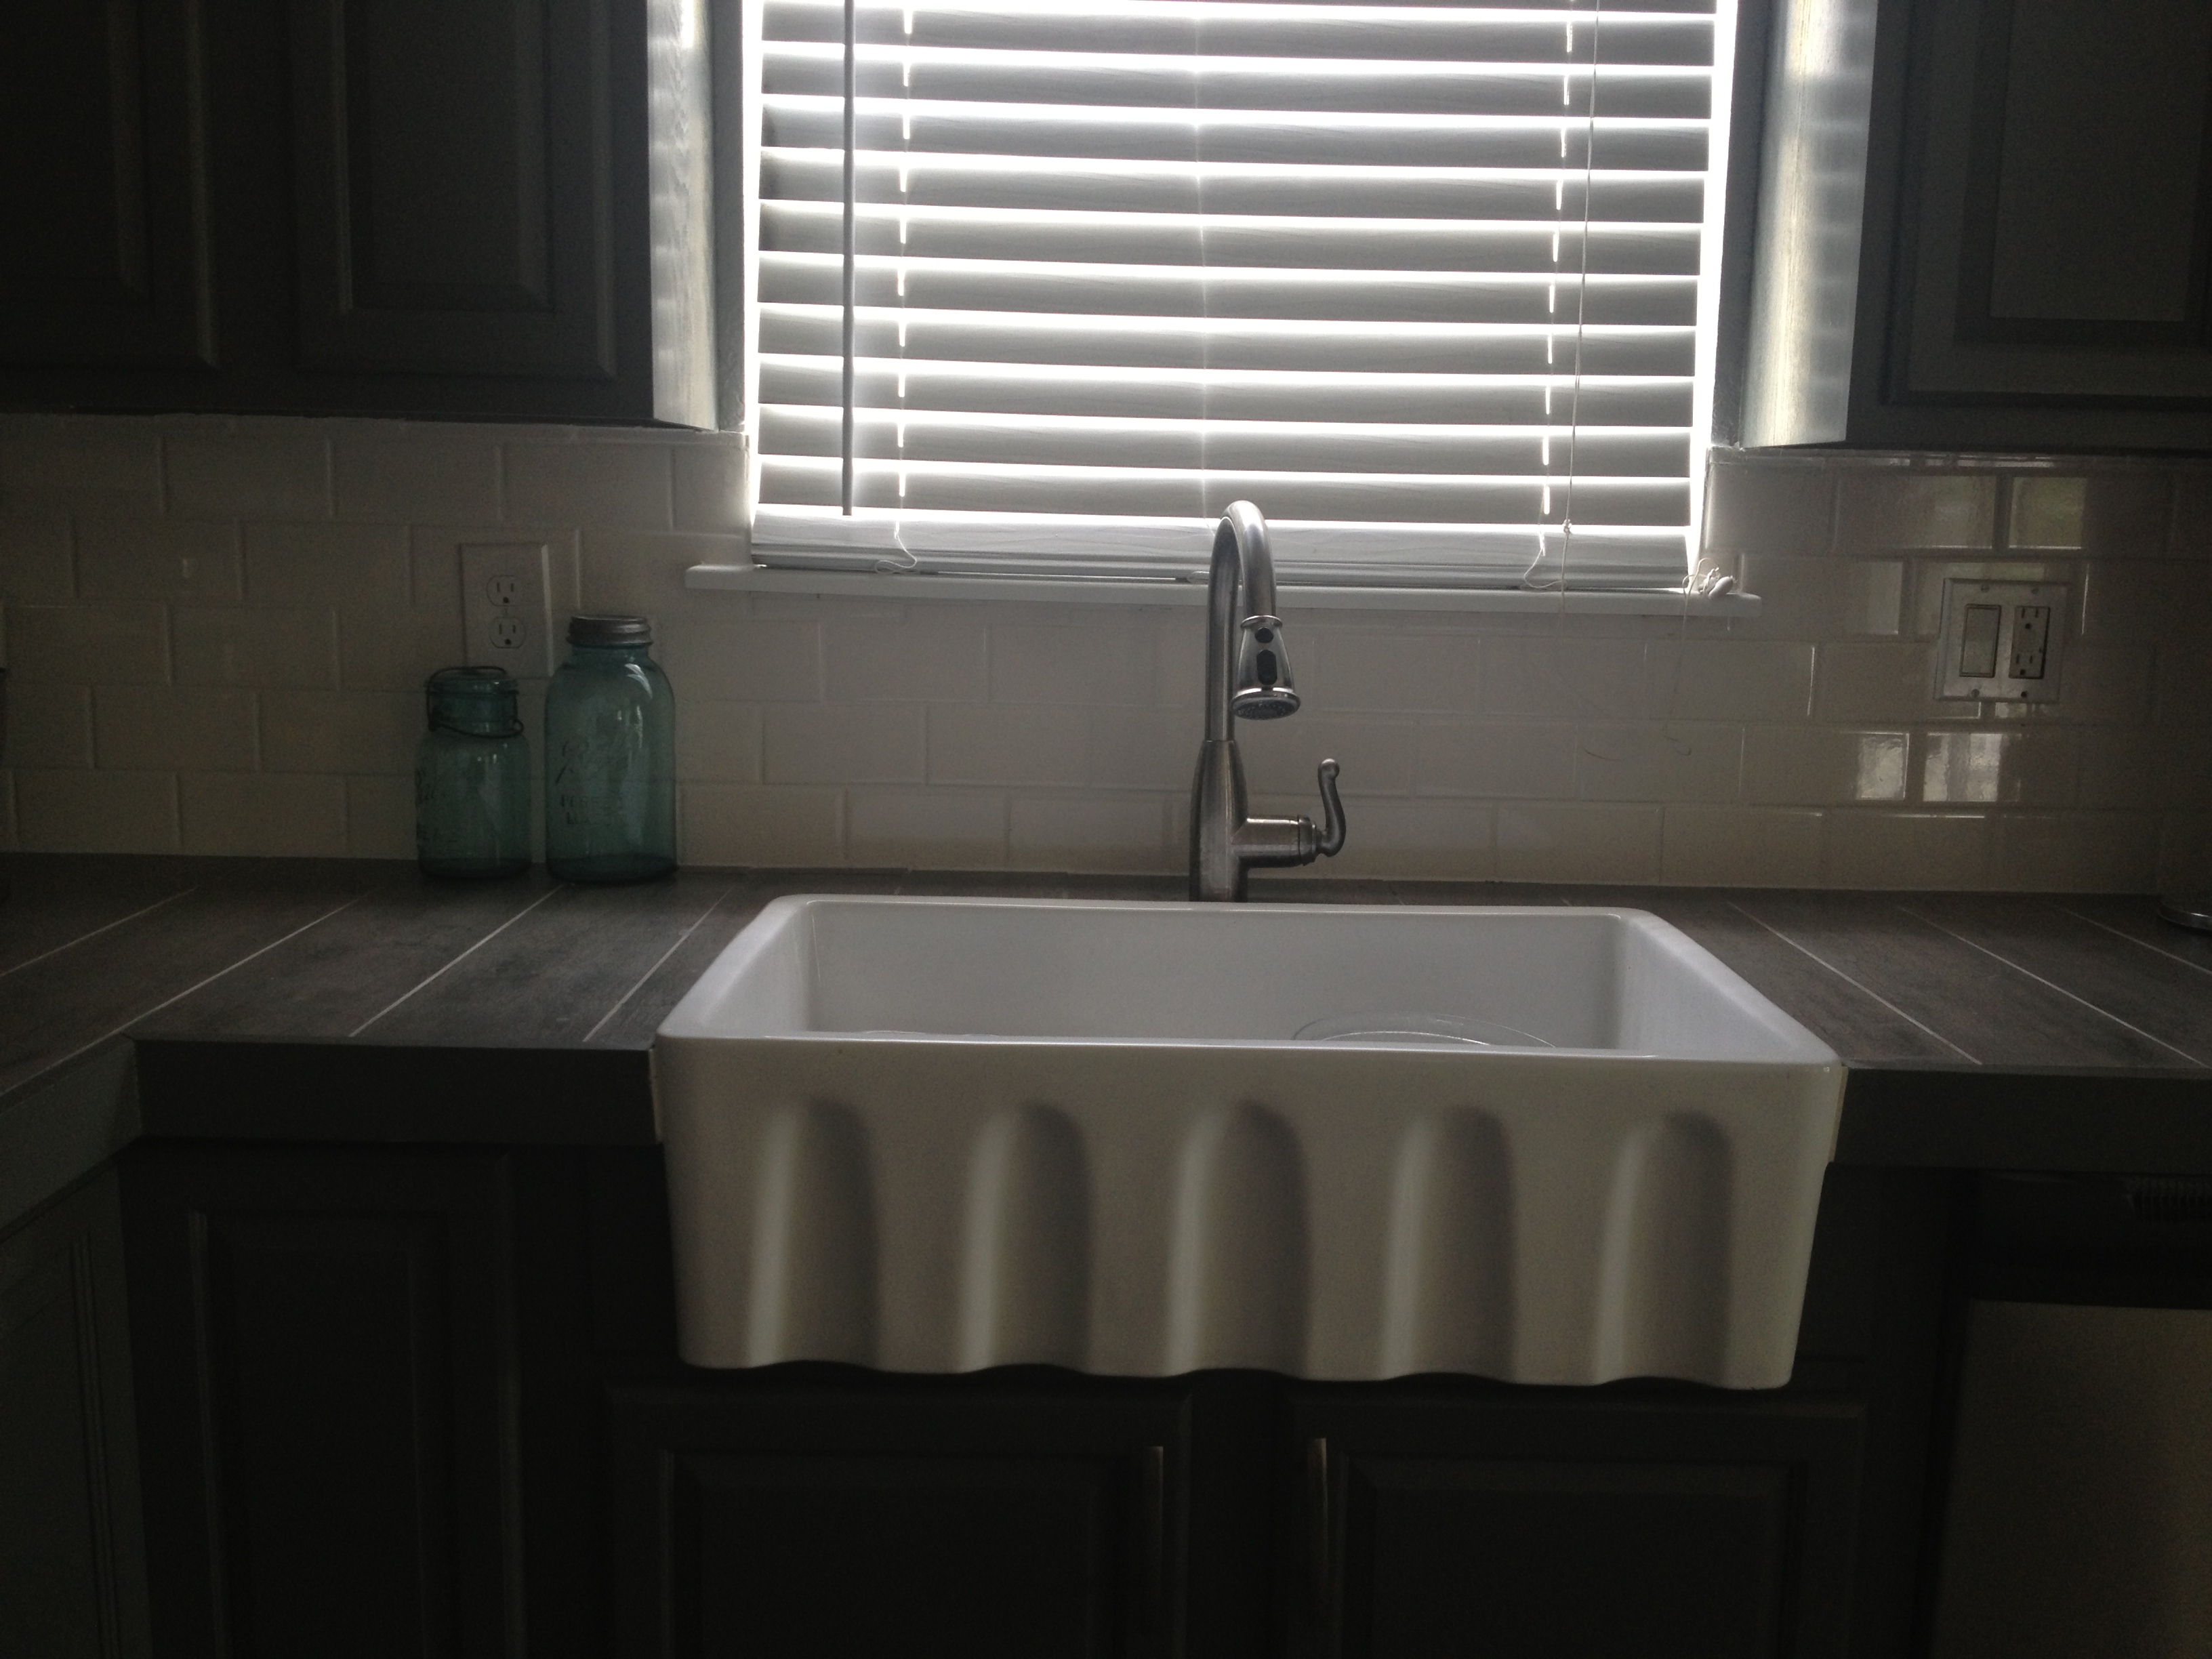
I spent the time surfing Pinterest for the perfect DIY projects to keep costs moderately low, and I shopped for my few luxury items! Our Vision: Key West style with modern sensibility and vintage touches. Here’s how we brought it together:
-I traded my standard comfortable for a modern quilt. The quilt gave the room that vintage touch, but the pattern put a modern twist on it. Overstock.com.
-We purchased a new king-size mattress from Mattress Firm, and we wanted it to make a grand statement. We picked out this dark-gray fabric headboard to do just that! I purchased it when there was a free-shipping offer and combined that with a RetailMeNot.com coupon. Major savings! Target.com.
-Nightstands can be super expensive, so I found a really fun DIY project that used an IKEA hamper frame with fresh wood tops. I used gray stain for the tops of mine, and they look really nice in the room. Pinterest.com.
-With several modern touches already in place, I needed to add some beach inspiration. So, I started searching for fillable lamps. Once found (I found mine at PotteryBarnKids.com but they’re no longer available), I bought shells and sand for Michael’s, and I started spray painting with leftover silver and turquoise paint I had at home. Once dried, I added the sand and shells to each lamp and placed a Target shade on top! I also picked up some beachy frames and filled them with photos we took on vacation. Michaels.com.
-We found the dresser on Craigslist, and I went to town sanding and repainting this hefty piece. I just used leftover paint at home (Quicksilver from Sherman Williams). The flooring is a Mohawk laminate from Bob’s Carpet Mart, and the TV is a Sony Bravia from Best Buy.
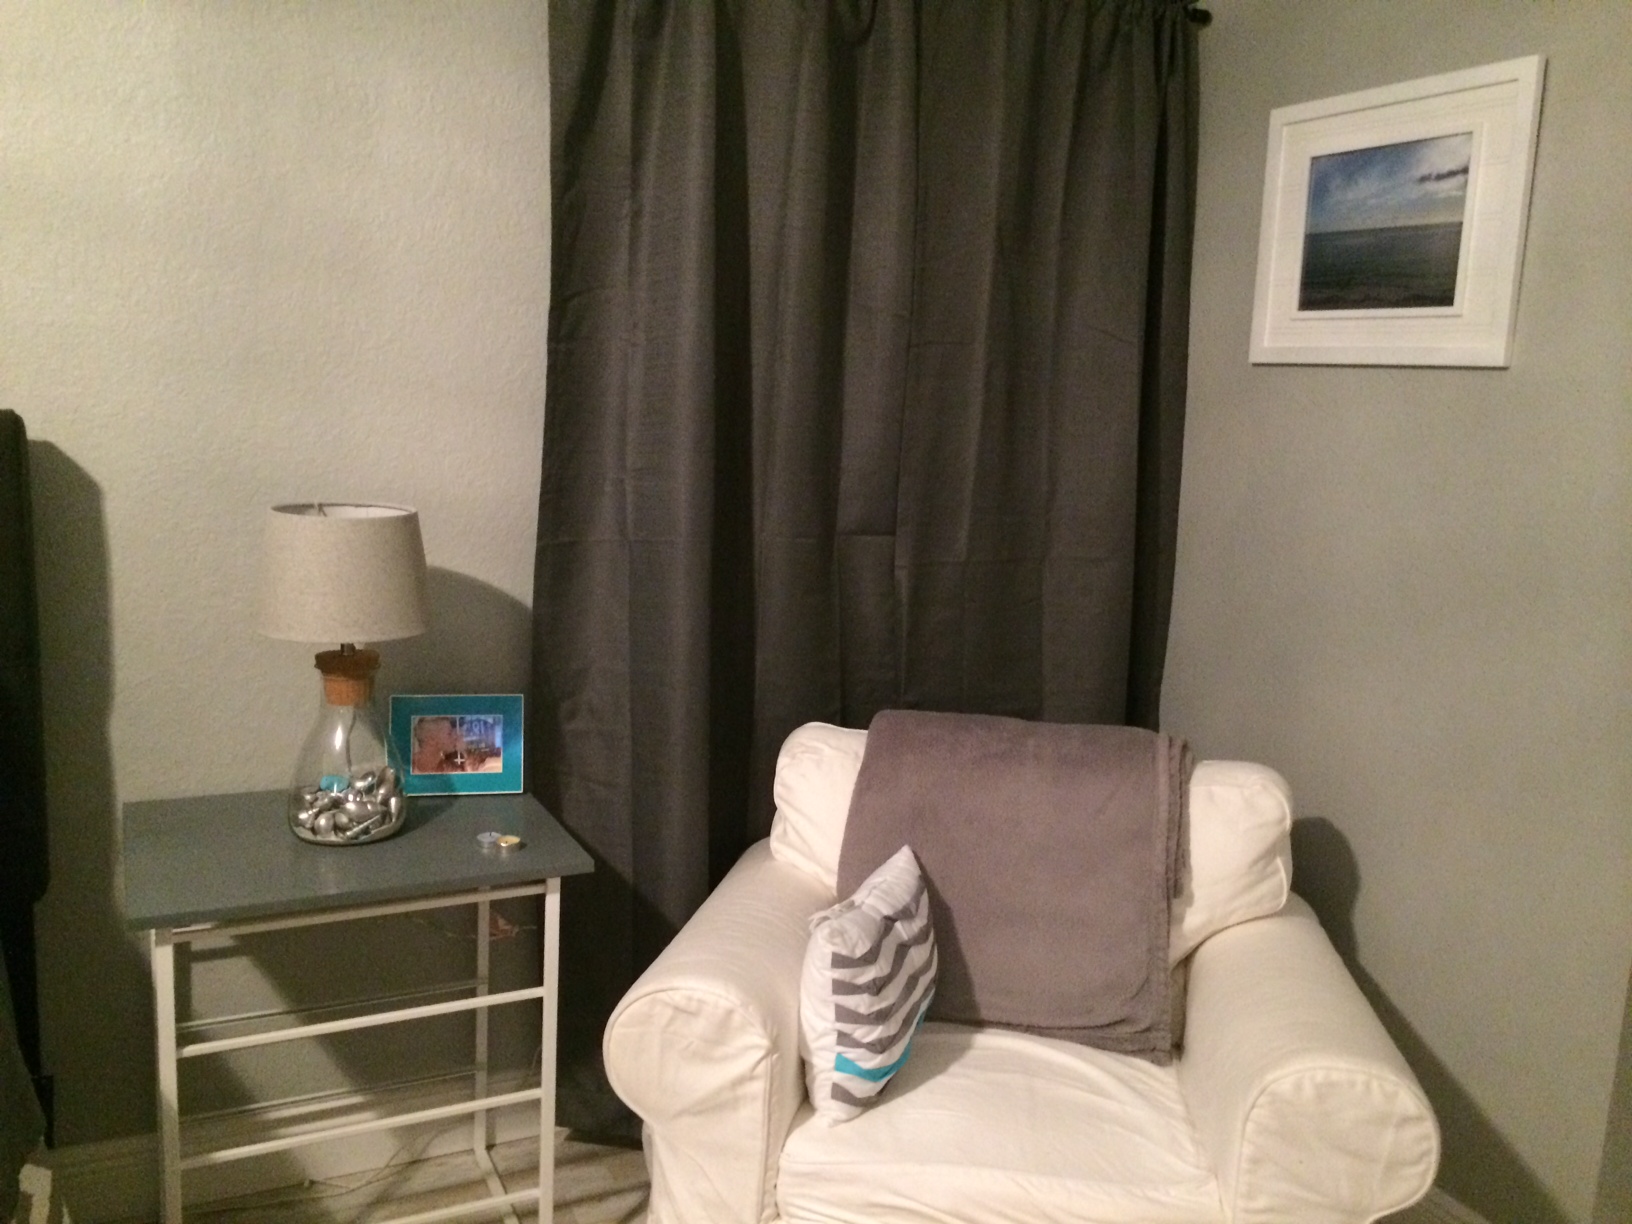
-Then, we accessories with items we already had, like the IKEA white rocker, picture frames, candles and more!

photo 1

photo 2

photo 3

photo 5

photo 4

I’m over-the-moon happy with my beachside retreat! We finally have a space all our own, which we will enjoy for many years to come. And that’s life in a nutshell.

MommaNut

The Heart of the Home: Our Kitchen Remodel

14 Apr

They say the heart of your home resides in the kitchen, and that’s especially true when you marry a sauce-making, Mozzarella-loving Italian. This man loves to cook, and I love to find any excuse to whip up a yummy dessert.

So, when we moved into our new home last May, we both knew a kitchen renovation would be on the list … but that list kept growing and growing considered we moved into a home that had been empty for two full years. PoppaNut painted every possible surface in this home, and power-washed everything else. We overhauled the landscaping, and we were finally ready for the next project: our downstairs bar area.

This was our kitchen just before the remodel. We only replaced the appliances when we moved in.

This was our kitchen just before the remodel. We only replaced the appliances when we moved in.


So, when my father-in-law came over, who also happens to be a residential/commercial home builder (Residential Design Corp), we began talking about the bar project … which somehow naturally lead to how much I hated our kitchen. And Dad agreed, saying how super easy and inexpensive it would be to remodel this area into our dream kitchen.

Well, that’s all I needed to get started, and PoppaNut graciously set aside his bar dreams for mine, a sacrifice that still makes me tear up when I think about it. So, together, we picked out every element of this kitchen. And with a ton of full-weekend work sessions and several long late-night weekday projects (and a ton of help from Dad and our friend Brad), our dream kitchen came together. Let’s take a look.


We started by priming the cabinets.

We started by priming the cabinets.


The sticky tile had to go, so we could make way for the new floor.

The sticky tile had to go, so we could make way for the new floor.


And the new floor is in! This tile actually looks like gray wood.

And the new floor is in! This tile actually looks like gray wood.


Next, it was time to cover those nasty countertops. And we used the same flooring tile for that!

Next, it was time to cover those nasty countertops. And we used the same flooring tile for that!


I've always had my heart set on a farmhouse sink, and again ... my dream was coming true.

I’ve always had my heart set on a farmhouse sink, and again … my dream was coming true.


This sink could serve as a home pool! It's huge!

This sink could serve as a home pool! It’s huge!


Once the white subway tile backsplash was in, we moved on to the island.

Once the white subway tile backsplash was in, we moved on to the island.


We couldn't leave the nearby kitchen table untouched, so I recovered each chair in a bold blue fabric to accent the kitchen for just $20.

We couldn’t leave the nearby kitchen table untouched, so I recovered each chair in a bold blue fabric to accent the kitchen for just $20.


And this is the "after" photo. This is the kitchen this home was meant to have.

And this is the “after” photo. This is the kitchen this home was meant to have.


And that’s life in a nutshell. At the end of this kitchen renovation, I’m thrilled with this new space. It’s everything I pictured and I can’t wait to start using it for big and small occasions. But it means more to me than just a beautiful kitchen. It’s a renovation that PoppaNut put his heart and soul into just because he loves me and always wants to make my dreams come true, it’s a space where our friends and family will gather for years to come to celebrate exciting moments, it’s a warm heart to this home I’ll love forever.

 MommaNut